Menu

We recently reconditioned some old pole lights and installed them at a nearby church. In the process, we converted them to LED and connected them to a new outdoor landscape light system we installed. (click on any of the images to see a larger version).
Reconditioned Fixture PartsWe started by completely disassembling the fixtures, sanding and cleaning them, and repainting them. We also sourced new screws etc. as necessary.
Reconditioned HeadsThen we assembled most of the parts in preparation for installation. We also ran new low-voltage wiring and replaced sockets and replaced the white plastic candle covers.
Identify and mark locations of fixtures.Taking care not to disturb any existing buried infrastructure we marked the exact location of each fixture in preparation for digging holes for the concrete foundations.
Level concrete form.We filled the bottom of the holes with concrete to create a good base. Once we had a good amount of concrete poured we set 909-degree sweeps, and ran 12-gauge landscape wire. Then we placed and leveled the forms.
Set and level-anchor-boltsBefore the concrete hardened we set the anchor bolts and leveled the templates. The templates were made to match the bolt pattern of the fixture bases.
We waited two days for the concrete to set, knocked the forms off, and installed the poles. Later that day we connected them to the 12-volt outdoor lighting system and the job was complete.
Call, email, or fill out the contact form below.
[gravityform id="1" title="false" description="false" ajax="true" tabindex="49" field_values="check=First Choice,Second Choice"]
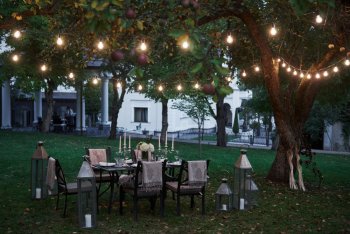
Whether it’s the soft glow washing over a garden path or warm light dancing across a backyard patio, there’s something…
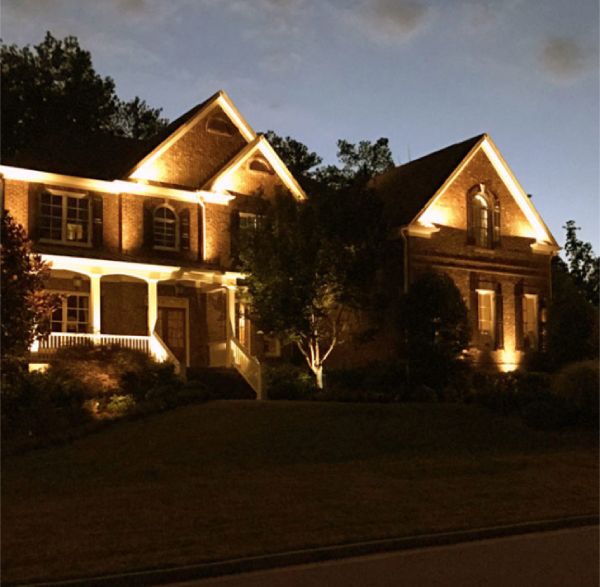
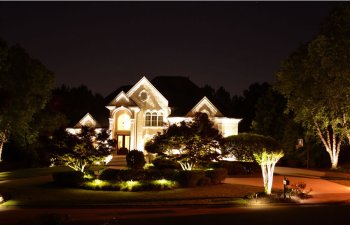
There’s nothing quite like the beauty of a well-lit yard or illuminated walkway. Landscape lighting can turn any property…
If you're from around here, then you know that Roswell glows with Southern charm. But when night falls, that charm…
When people think of outdoor lighting, they might picture soft glows around flower beds, spotlights on trees, or a warm…

Absolute Lighting installed my outdoor flood lights 2 years ago and they are beautiful! They did such a great job that I used them to setup and take down the Christmas lights for the past 2 years. I would highly recommend them. Frank always responds to questions and automatically puts me on the schedule for set up and take down of the Christmas Lights.
We love Abulous lighting and have been using them for years They are very responsive and professional and will come back no questions asked for any follow up work Good pricing and highly trustworthy Frank, the owner, is a true stand up guy. I recommend without reservation
Frank and the team at Abulous were great to work with. They came out and retro-upgraded some previous lighting that we had done a few years back and made it look as seamless and continuous as possible. They also worked with us on the best (& most economical) way to light up a hard to reach area of our yard. They also followed up with us after we had another group of workers "disturb" some of the lighting wires and came back out and fixed everything back up again. Very friendly, dependable local resource who do great work. Highly recommend.
After reviewing multiple companies we contracted with Abilous Lighting to create outside accent lighting for our home, backyard patio, walkways, & fire pit. Their ideas and design were the best! It was a pleasure working with Frank Hasty, who did the design, and his crew of Brandon & Rusty who performed the work. All were excellent to work with. We are very happy with Abulous Lighting.